
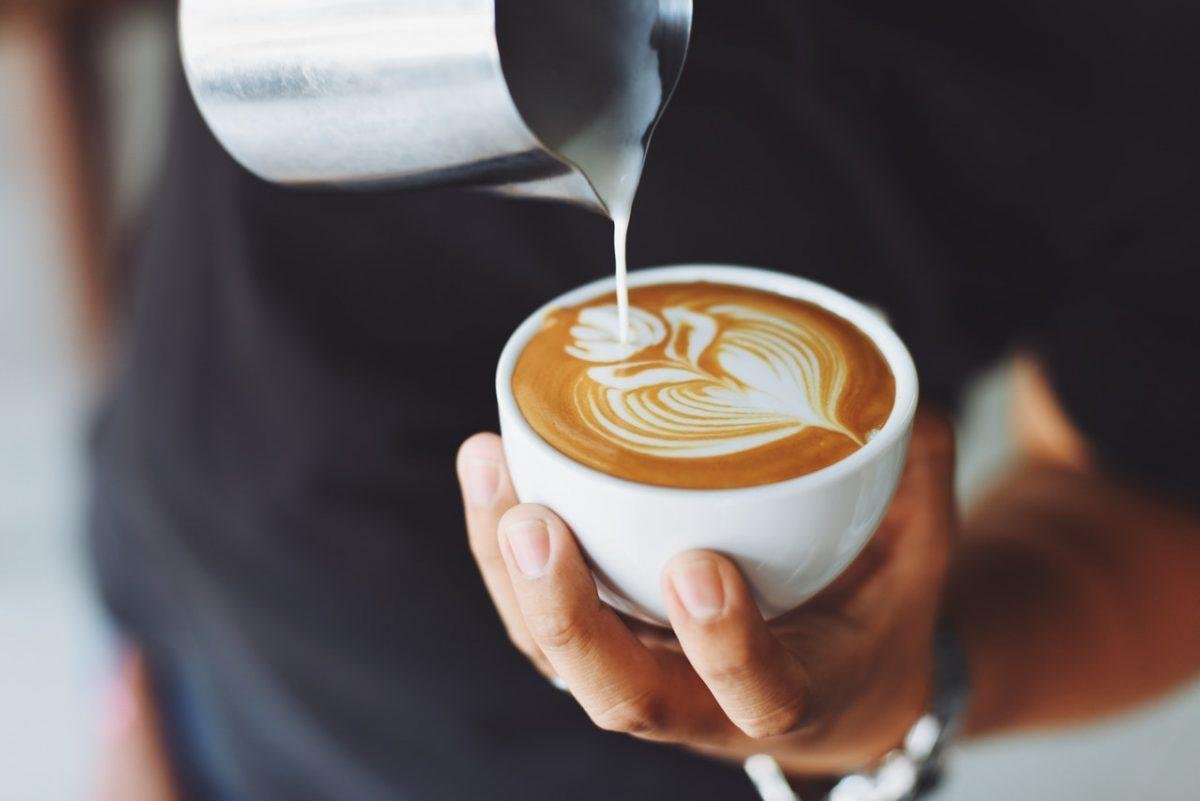
Steep 2 tablespoons of medium-ground coffee in 6 ounces of 200°F water for 4 minutes. This method suits anyone who wants a rich, balanced mug without buying expensive machinery.
What you need for a perfect cup of coffee
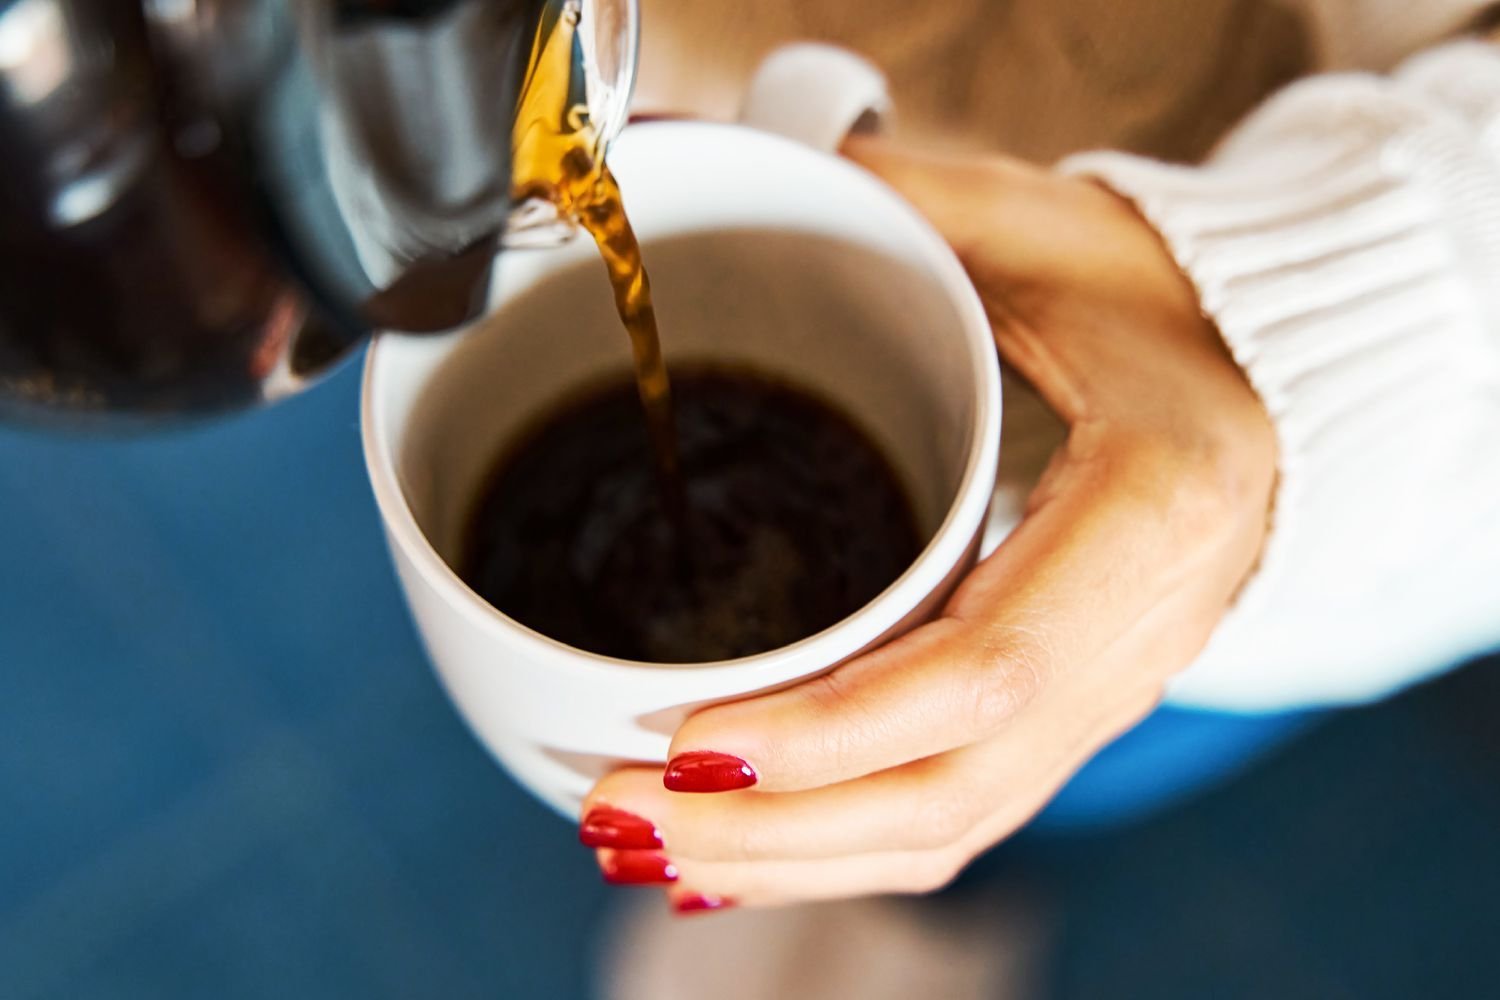
Brewing clean coffee requires a few basic items on your counter. Having the right tools keeps the water hot and stops bitter dust from slipping into your finished drink.
- Medium-ground coffee: 2 level tablespoons (about 10 to 12 grams) of medium roast. Avoid extra-fine espresso grinds because they clog standard filters.
- Fresh water: 8 ounces total (6 ounces for brewing, plus extra to preheat your mug). Cold tap water or filtered water works best; distilled water leaves the cup tasting flat.
- A standard mug: 8 to 12 fluid ounces, made of ceramic or thick glass to hold heat.
- A pour-over cone or drip brewer: Size #2 plastic or ceramic cone that sits flat on top of your mug.
- Paper filter: One cone filter matching your brewer size. Unbleached brown filters work, but bleached white filters leave less cardboard taste behind.
- Kettle: A standard kitchen kettle or small saucepan to boil water.
- Measuring spoon: A standard 1-tablespoon kitchen scoop for consistent dosing.
Step-by-step pour-over brewing process
Brewing fresh coffee requires careful timing and steady pouring to extract pleasant flavors while leaving harsh compounds behind.
- Boil the water. Bring 8 ounces of water to a rolling boil in your kettle, then take it off the heat for 30 seconds so it cools down to roughly 200°F.
- Rinse the paper filter. Place the paper filter inside your brew cone over your mug, and pour 2 ounces of hot water through it to rinse away paper taste and warm the ceramic.
- Empty the warming water. Lift the cone off your mug and dump out the rinse water so your brew space is empty and hot.
- Add the coffee grounds. Add 2 level tablespoons of medium grounds into the wet filter, shaking the cone lightly to flatten the bed.
- Bloom the coffee grounds. Pour 2 ounces of hot water in slow circles over the dry grounds until they’re fully wet, then wait 30 seconds while the bed bubbles and expands.
Careful: Don’t pour water along the sides of the paper, or liquid bypasses the grounds completely and weakens your drink.
- Pour the main brew. Pour the remaining 4 ounces of water slowly into the center of the bed over 60 seconds, keeping the stream steady and low.
Tip: If the water pools and drains slower than 3 minutes, your grind is too fine; if it drains under 1 minute, grind coarser next time.
- Let the brew finish dripping. Allow the liquid to drip through until the top of the coffee bed looks dry, which takes about 30 to 45 seconds.
- Remove the brewer and stir. Discard the spent grounds and filter, give the liquid a quick stir with a spoon to blend the layers, and drink immediately.
Brewing adjustments across different situations
Adjust your recipe based on your preferred roast and how you take your coffee. Dark roasts extract faster, and dairy requires a stronger base to avoid a watery finish.
| Brewing Situation | Time and Cost Impact | What Changes | What to Watch For |
|---|---|---|---|
| Adding Milk or Cream | Same time; adds cost of dairy | Use 2.5 tbsp grounds per 6 oz water for a stronger base | Bitter edge if water sits too long on the extra grounds |
| Using Dark Roast Beans | Saves 30 seconds brew time; normal bean cost | Drop water temp to 195°F (wait 60 seconds off boil) | Harsh, burnt ash flavor from over-extracting dark oils |
| Brewing a 12 oz Travel Mug | Adds 2 minutes; doubles ground usage | Double water to 12 oz and grounds to 4 tbsp | Water overflowing the filter cone during the second pour |
| Using Cold Brew Grounds | Takes 12 to 18 hours; uses twice the dry coffee | Steep grounds in cold water inside the fridge overnight | Muddy sludge settling at the base of your glass |
For a stronger mug, add an extra half-tablespoon of grounds instead of brewing longer.
How to tell your cup brewed correctly
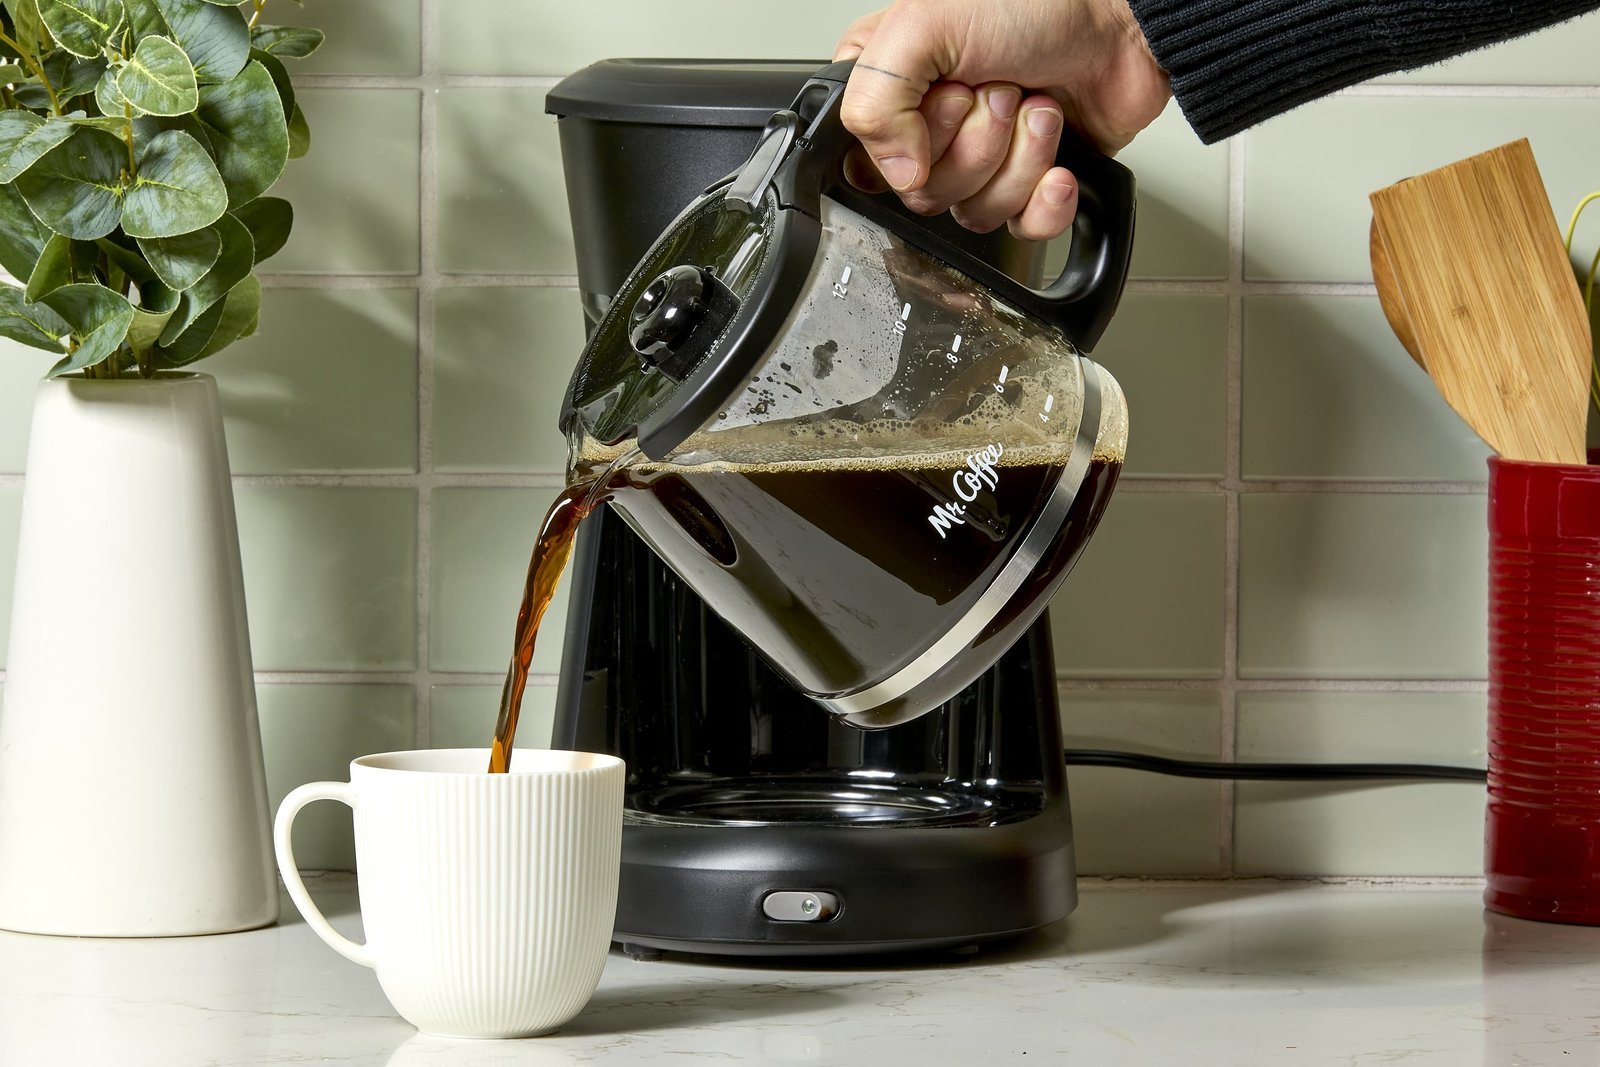
A proper cup is deep amber with no silt at the bottom.
A poor cup tastes sour, watery, or harshly bitter like burnt wood. Pouring water at the right temperature, choosing a medium grind size, and sticking to a 3-minute drain time prevent this flaw every single time.
Health guidance and post-brew cleanup
Drink your coffee within 20 minutes for the best flavor.
Regarding personal daily limits, the U.S. Food and Drug Administration notes that healthy adults can safely consume up to 400 milligrams of caffeine daily, which equals roughly four standard 6-ounce cups.
Alternative ways to brew coffee
French press immersion
The French press steeps coarse grounds for 4 minutes before you push down a metal mesh filter. This setup is inexpensive compared to other brewing equipment and creates a much heavier, oilier cup with tiny grounds settled at the bottom.
Automatic drip coffee maker
An electric brewer sprays heated water over an internal basket at the touch of a button. It finishes an entire pot in 6 minutes, making it ideal for busy families, though cheaper units often fail to reach 200°F.
Stovetop moka pot
A moka pot uses steam pressure to push water through finely packed coffee. The process takes roughly 5 minutes, yielding a dense, punchy drink that rivals espresso without requiring a thousand-dollar machine.
Frequently asked questions

Can you brew coffee with boiling water?
Using water at a rolling boil can lead to over-extraction, which may result in a bitter cup. Let your kettle rest off the stove for 30 to 45 seconds so the liquid drops to 200°F before pouring it over dry grounds.
How much coffee do you use for one mug?
Use 2 level tablespoons of dry grounds for a standard 6-ounce mug. If your everyday ceramic mug holds 10 to 12 ounces of liquid, double that amount to 4 level tablespoons to keep your brew from tasting thin.
Why does my coffee taste sour?
Sour flavors appear when your water drains through the filter cone too fast, leaving tasty oils behind in the grounds. Switch to a finer grind setting or pour your water slower so the hot liquid has time to extract sugars.
Is it safe to reheat old coffee in the microwave?
Yes, reheating old coffee is completely safe to drink, but it will taste bitter and flat. Microwaves break down leftover aromatics and accelerate acid breakdown, so brewing a smaller, fresh cup usually yields a far better result.
What happens if you use fine espresso grounds in a drip filter?
Fine grinds pack tightly together, turning into thick mud that traps the hot water inside the cone. The brew will take over 6 minutes to drain, producing a lukewarm, overwhelmingly harsh liquid that leaves heavy grit in your teeth.
How long does ground coffee stay fresh in the pantry?
Ground coffee keeps its peak aroma for roughly 7 to 14 days after opening the bag. Store your bag inside an airtight tin tucked away from heat and bright sunlight, because humid air turns ground beans stale very quickly.
Can you make coffee with milk instead of water?
No, milk contains fats and sugars that scorch and curdle when heated inside a standard brewer. Brew your strong coffee base using hot water first, then stir warm milk or dairy creamer directly into the mug afterward to ensure the best flavor and texture.
Conclusion
Once you’ve poured your drink, take a moment to enjoy the aroma before your first sip. If you find the flavor too strong or weak, don’t worry—you’ll get a better feel for your preference next time. Experimenting with different beans is a great way to discover which roast you really love.