
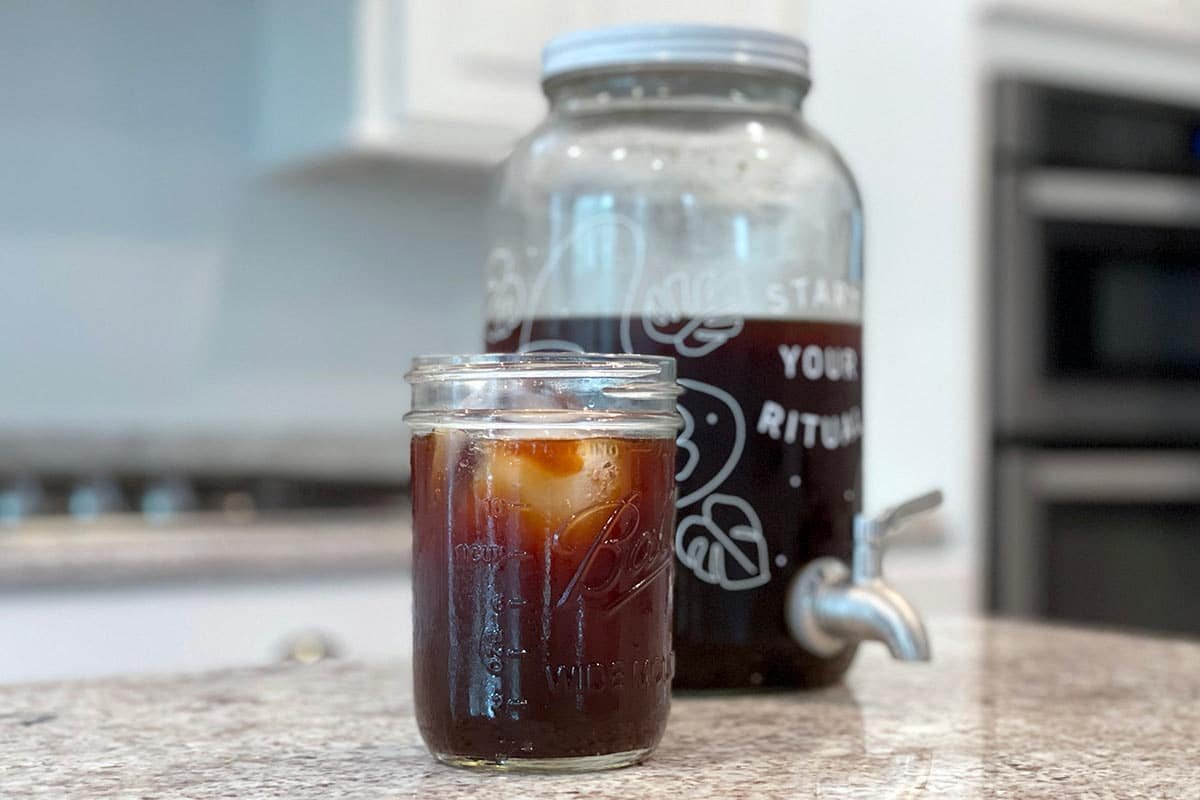
Steeping 1 cup of coarse coffee grounds in 4 cups of cold, filtered water for 12 to 18 hours at room temperature is the best way to make homemade coldbrew.
Tools to make homemade coldbrew
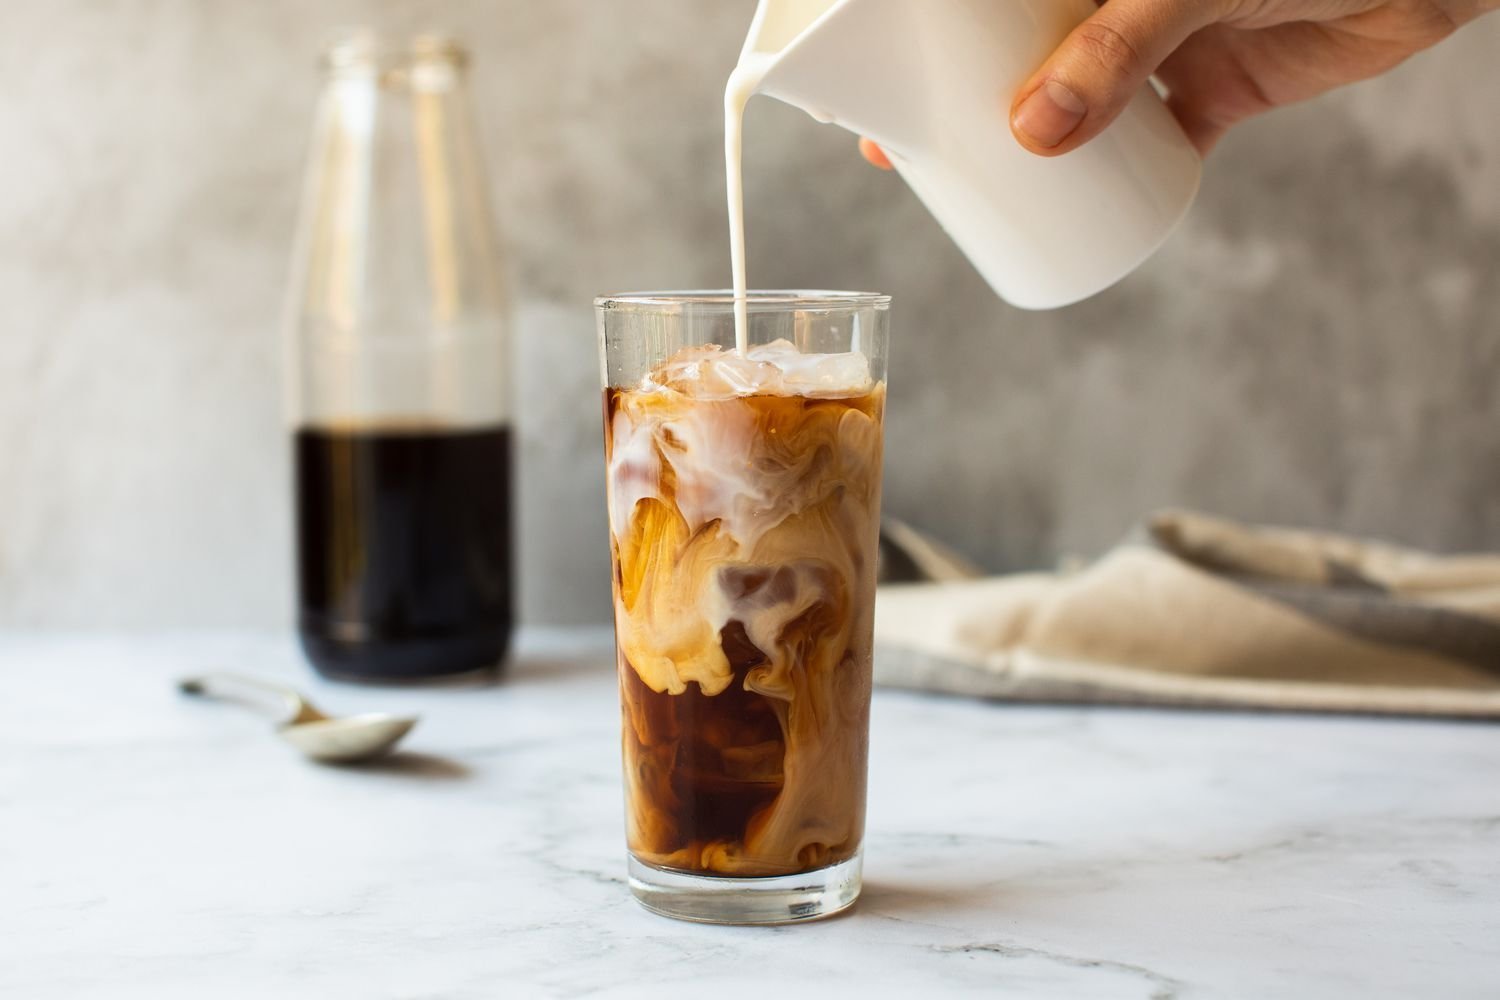
To prepare your coffee successfully, you need the right tools on hand to ensure the flavor stays clean and the grounds are easy to remove later.
- Large glass jar or pitcher (at least 2-quart capacity)
- Coarse-ground coffee (freshly ground is best for flavor)
- Filtered room-temperature water
- Fine-mesh sieve or colander
- Cheesecloth or a clean, thin cotton tea towel
- Long-handled spoon for stirring
- Large bowl for filtering
If you lack cheesecloth, you can use a clean coffee filter, though it will slow the straining process significantly. Always use filtered water, as the U.S. Environmental Protection Agency notes that water quality directly affects the taste of any beverage you prepare at home.
Steps to Brew Your Coffee
- Measure 1 cup of coarse coffee grounds and pour them into your large glass jar.
- Add 4 cups of room-temperature filtered water to the jar.
- Stir the mixture gently with a long-handled spoon for 30 seconds to ensure all grounds are fully wet.
- Cover the jar with a lid or a cloth to keep dust out while it sits on your counter.
- Wait 12 to 18 hours for the extraction to finish.
- Place a fine-mesh sieve over a large bowl and line it with two layers of cheesecloth.
- Pour the coffee mixture slowly through the cloth, allowing the liquid to drain completely into the bowl.
- Discard the used grounds and transfer the liquid concentrate to a clean, sealed container.
Tip: If you prefer a stronger flavor, move your jar to the refrigerator for the last 4 hours of the steep, but don’t exceed 24 hours total or the coffee may become bitter. Careful: Never press down on the grounds while filtering, as this forces fine sediment into your drink and ruins the smooth texture.
Adjusting for Different Batches
The time and strength of your coffee vary based on the roast you choose and the final intensity you desire. You should start with a small batch to test your preference before making larger amounts, as it’s easier to add more water to dilute a strong concentrate than it’s to fix a weak, over-extracted batch.
| Batch Size | Steeping Time | Expected Strength | Watch For |
|---|---|---|---|
| Small (1 cup) | 12 hours | Mild | Sediment |
| Medium (2 cups) | 16 hours | Standard | Bitterness |
| Large (4 cups) | 18 hours | Strong | Over-extraction |
How to Tell You Did It Right
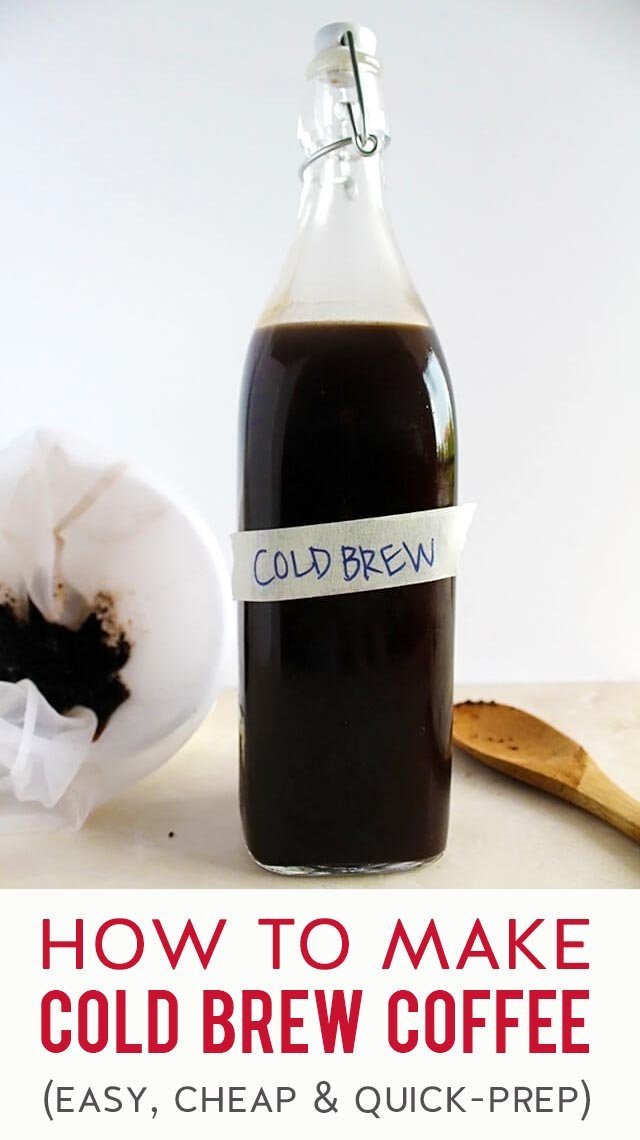
A high-quality batch of cold brew should look dark, rich, and clear, with almost no visible sediment at the bottom of your glass. If your coffee tastes muddy or gritty, you likely used grounds that were too fine, which allows tiny particles to pass through the cloth. To prevent this, ensure your grinder is set to a “coarse” or “French press” setting. If the flavor is sour, your steep time was too short; if it’s unpleasantly bitter, you left the grounds in the water for too long.
Storage and Safety Standards
According to the FDA Food Code, you must keep any homemade liquid concentrate refrigerated at 41°F (5°C) or below to prevent bacterial growth. Store your finished concentrate in an airtight glass container to keep it fresh for up to 10 days. Always wash your jars and filtering tools with hot, soapy water immediately after use to prevent old oils from tainting your next batch. If you notice any unusual smell or film on the surface, discard the liquid immediately for your own safety.
Alternative Brewing Methods
Using a French Press
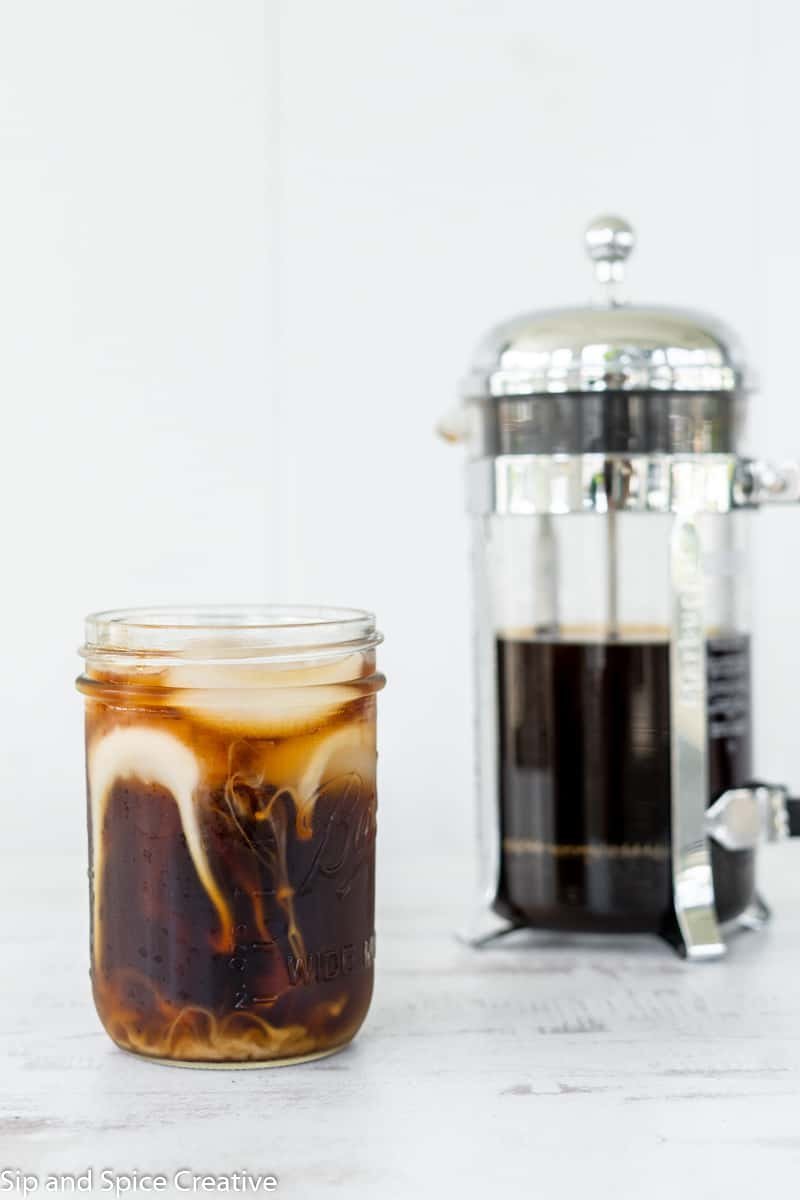
This method simplifies the process by using the built-in plunger. You simply add the grounds and water, wait the required time, and press down. It saves time on filtering but requires a thorough cleaning.
Cold Drip Towers
These devices drip ice-cold water over coffee grounds one drop at a time. This method produces a much cleaner, more complex flavor profile but requires expensive specialized equipment and takes significantly longer to set up.
Coffee Bags
You can buy pre-filled mesh bags designed for cold brewing. This is the most convenient option for beginners as it removes the need for cheesecloth or complex filtering, though it often costs more per cup.
Frequently asked questions
How long does homemade cold brew last?
It lasts for 10 days in the refrigerator if kept in an airtight container at 41°F or lower. Check the liquid for any changes in smell or clarity before you pour, as these are signs it has expired.
Is it safe to leave cold brew on the counter?
It’s safe to leave it on the counter only during the initial 12 to 18-hour steeping process. Once you filter the grounds, you must move the liquid to the refrigerator to maintain food safety standards.
Why is my cold brew so bitter?
It’s likely bitter because you steeped it for longer than 18 hours or used grounds that were too fine. Adjust your next batch by shortening the time by 2 hours or using a coarser grind setting.
Can I use regular drip coffee grounds?
You can use them, but the result will likely be muddy and bitter. Standard drip coffee is ground too finely for cold brew, so it’s best to buy whole beans and grind them coarsely at home.
How much water do I add to the concentrate?
You should dilute it with a 1:1 ratio of concentrate to water or milk. Start with equal parts, then add more water if you prefer a lighter drink, or add more concentrate for a stronger cup.
How do I know if the coffee is bad?
It’s bad if it develops a sour or fermented smell after storage. If the liquid looks cloudy or shows any surface film, don’t drink it, as these indicate that the coffee has begun to spoil.
Conclusion
Enjoy your coffee by pouring it over ice and adding a splash of your favorite milk or sweetener to balance the strength. Because this method creates a concentrated base, you can keep it in the fridge and serve it quickly whenever you need a boost. Always remember to clean your equipment thoroughly between uses to ensure every batch tastes as fresh as the first one.