
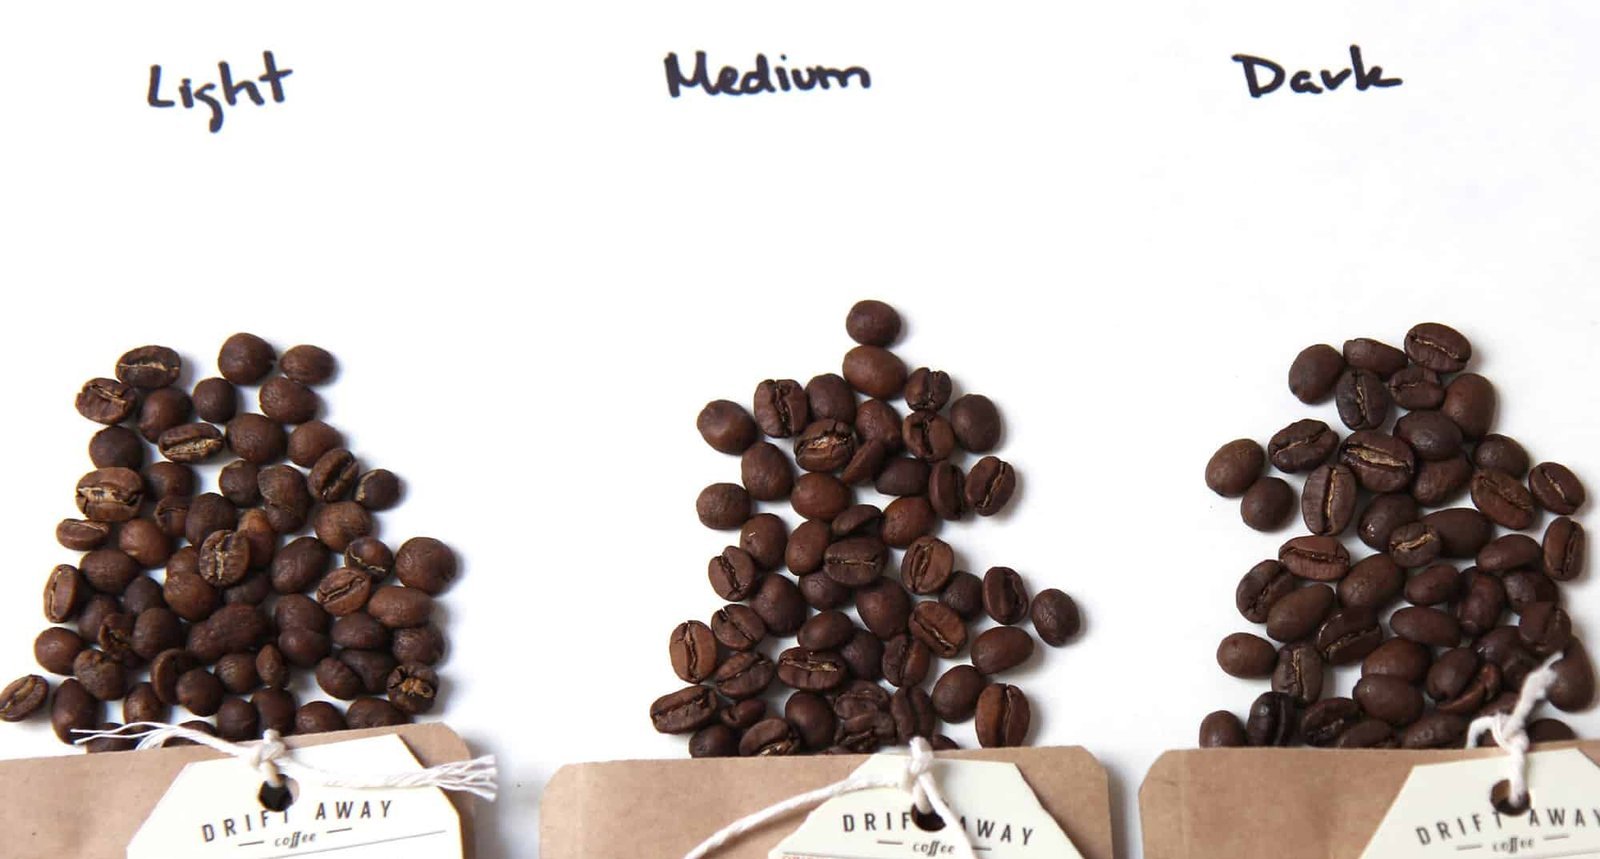
To learn how to roast medium roast coffee, heat green beans to between 400°F and 420°F, typically just after the “first crack.” This range preserves the bean’s natural origin flavors while adding a balanced, toasted sweetness.
Who this is really for
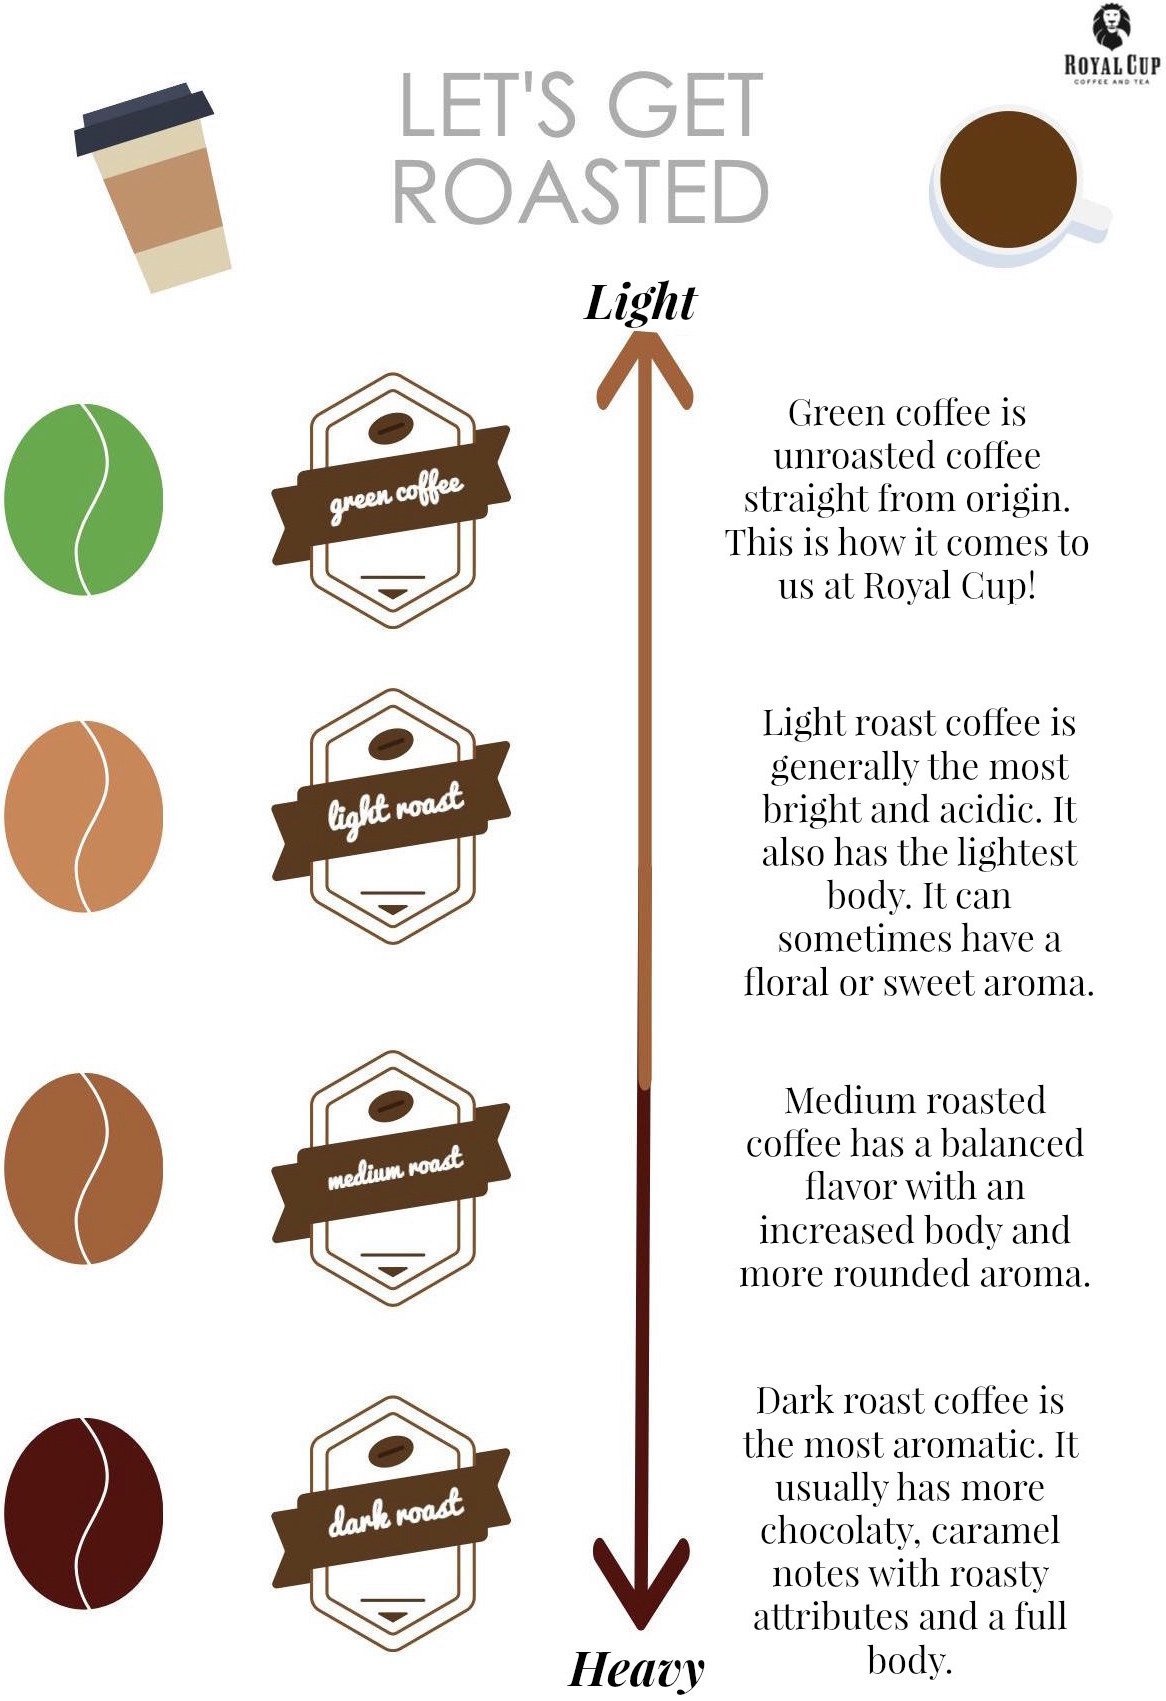
This guide serves home roasters who use standard air roasters, drum roasters, or stovetop poppers. It assumes you already have green (unroasted) coffee beans and a way to track the temperature or sound of the beans. This guide isn’t for commercial-grade roasting. It’s best suited for those who want to understand the physical signs of a medium roast, specifically the transition between the first and second crack. We assume you’re working with a batch size of 100 to 200 grams, as larger batches require more heat energy and longer roast times to avoid uneven development.
Factors that change the outcome
The most significant factor is the bean density. High-altitude beans are denser and require more heat to roast evenly compared to low-altitude, softer beans. If you roast dense beans at a low heat, they will taste grassy or sour.
Airflow is the second factor. Increased airflow pulls chaff away from the beans and helps cool the outer layer, preventing the exterior from burning before the inside is finished. Adjust your roaster’s fan speed to maintain consistent movement; if the beans stop tumbling, you’ll get scorched spots.
Step by step
- Preheat your roaster to 350°F to ensure the chamber starts at a stable temperature.
- Add 150 grams of green coffee beans once the roaster reaches the target heat.
- Observe the color change; the beans will transition from green to yellow after about 3 minutes.
- Listen for the “first crack,” a distinct popping sound similar to popcorn, which happens around 7 to 9 minutes.
- Reduce the heat by 10% immediately after the first crack starts to slow the momentum.
- Continue roasting for another 60 to 90 seconds until the beans reach a light brown color.
- Stop the roast when the beans reach your target roast color and development stage.
- Cool the beans rapidly using a colander or the roaster’s cooling cycle to stop the internal heat.
The judgement call is the “second crack.” If you hear a sharper, faster series of pops, the roast has moved into dark roast territory.
Roast profiles and results
The following table outlines how different internal temperatures correlate to roast levels.
| Roast Stage | Internal Temp | Flavor Profile | Visual Sign |
|---|---|---|---|
| Light | 385°F | High acidity | Light brown |
| Medium | 410°F | Balanced sweet | Medium brown |
| Dark | 435°F | Bitter/Smoky | Dark brown |
Differences in quality
Monitoring the process
Experienced roasters watch the color and listen for the cracks simultaneously. The first crack indicates the bean has reached a point of expansion, while the second crack indicates the cellular structure is breaking down.
Cooling the beans
The cooling phase is just as important as the roasting phase. Rapidly moving air through the beans is the best way to lock in the flavor profile you worked to achieve.
What goes wrong, and what to do
| What you notice | What it usually means | What to do first | How to stop it |
|---|---|---|---|
| Uneven color | Poor circulation | Increase fan speed | Use smaller batches |
| Grass/hay taste | Under-developed | Roast 1 minute longer | Increase initial heat |
| Ashy/bitter taste | Too dark | Stop at first crack | Cool beans faster |
| Smoke in room | Excessive heat | Lower power setting | Use exhaust fan |
Rules for safe roasting

Roasting coffee involves high heat and flammable chaff, which is the thin skin that peels off the bean. Always operate your roaster in a well-ventilated area, preferably near an open window or under a kitchen hood.
What it costs you
The primary cost is the price of the green coffee beans, which varies by origin and quality. Prices for green beans change based on global supply, so check your local roaster’s website for the current cost per kilogram.
Keeping it right afterwards
After roasting, let the coffee rest in a ventilated container for at least 24 hours. Coffee releases carbon dioxide after roasting, and if you brew it immediately, the gas will interfere with water extraction, leading to a sour or metallic taste. Store the beans in an opaque, airtight bag with a one-way valve to allow gases to escape without letting oxygen in. If the coffee starts to smell like cardboard or stale oil, it has oxidized and should be discarded.
When this is the wrong approach
Home roasting isn’t suitable for commercial-grade consistency. It’s more efficient to buy beans from a professional roaster.
Frequently asked questions
Can I roast coffee in a frying pan?
Yes, you can, but it’s very difficult to achieve an even roast. You must stir the beans constantly to prevent scorching, and you’ll produce a significant amount of smoke in your kitchen.
Is it safe to roast coffee indoors?
Yes, but only if you have a powerful kitchen exhaust fan. Chaff can be a fire hazard if it builds up, so clean your roaster thoroughly after every single use to prevent smoke.
How long does a medium roast take?
About 10 to 12 minutes is standard for most home roasters. This assumes a 1,000-watt machine; if yours is less powerful, it may take up to 15 minutes to reach the same result.
What happens if I go past the second crack?
The coffee will become oily and very bitter. This is the stage where the bean oils reach the surface, and the flavor profile shifts from the origin characteristics to a charred, smoky taste.
Does the bean type change the roast time?
Yes, denser, high-grown beans require more heat and time to develop. Always check the origin information on your green bean packaging, as it usually suggests a specific roast level or time.
How do I know if the roast is finished?
The sound of the first crack is your best indicator. Once the popping slows down and the beans reach your target temperature, they’re ready to be cooled immediately.
What to do next

You’ll know the roast is successful when the beans appear uniform in color and smell sweet. If you smell burning or see black spots, turn the heat off immediately.
Final Thoughts
Once your beans have cooled, let them rest in a sealed container for at least twenty-four hours before brewing. This brief wait allows the trapped gases to escape, which really helps the complex flavors shine. You’ll be surprised by how much better that first morning cup tastes when it’s had time to settle.