
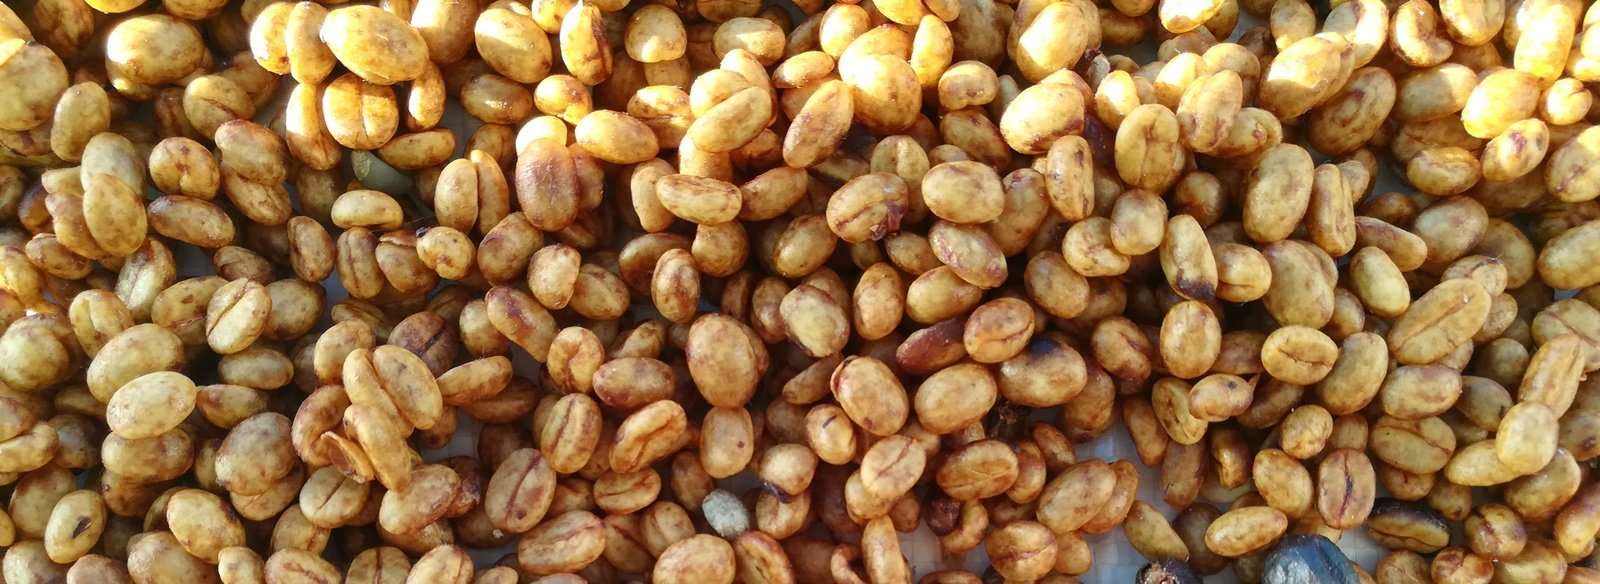
You reach the best flavor when you roast natural processed coffee by using a lower heat profile to prevent the outer skin from burning before the center finishes. Aim for a total roast time of 10 to 12 minutes on a standard air roaster. This method suits home roasters who want to highlight the fruit-forward sweetness typical of sun-dried beans.
Equipment for roasting natural coffee

- Green, natural processed coffee beans (look for moisture levels near 11% to ensure even development).
- A dedicated coffee roaster with adjustable temperature and airflow settings.
- A heat-resistant metal colander for cooling beans immediately after the roast.
- Digital scale accurate to 0.1 grams for weighing your green and roasted batches.
- A wooden spoon for stirring if using a manual air-popper.
- Protective oven mitts for handling hot equipment.
You can substitute a cast-iron skillet for a dedicated roaster, but it won’t offer the consistent airflow needed for a uniform roast. Training for professional roasting is handled by the Specialty Coffee Association through their certified courses.
How to Roast Natural Processed Coffee to Perfection
- Weigh out 150 grams of green beans to allow enough space for movement in the roasting chamber.
- Preheat your roaster to 350°F to ensure the chamber is ready for the beans.
- Add the beans and start the timer, keeping the heat at a medium setting for the first 5 minutes to dry the moisture content.
- Increase the heat to 400°F once the beans turn yellow and smell like toasted hay.
- Listen for the first crack, which usually happens around the 8-minute mark, signaling the start of the final roast stage.
- Pull the beans out of the heat immediately after the first crack slows down, usually 2 to 3 minutes later.
- Pour the beans into your metal colander and stir vigorously for 3 minutes to stop the residual heat from continuing the roast.
Tip: If you see dark spots on the surface but the inner bean tastes grassy, you’re using too much heat too early. Careful: Always roast in a well-ventilated area to avoid smoke inhalation. You should never leave a roaster unattended while it’s running.
Roast Timing and Heat Variables
Roasting natural coffee varies by machine power; adjust your settings based on the capacity and heating element of your specific model.
| Situation | Time Required | Heat Setting | What to Watch |
|---|---|---|---|
| Small batch (100g) | 8-9 minutes | Medium-High | Rapid color change |
| Standard batch (150g) | 10-12 minutes | Medium | Consistent first crack |
| Large batch (200g+) | 13-15 minutes | Low-Medium | Uneven browning |
Start with a smaller batch to understand your machine’s heat response, as it’s safer to increase your volume once you master the timing.
Identifying Your Roast Quality
Photo: www.aldeacoffee.com on Google
A well-roasted natural bean should have a uniform color, ranging from light cinnamon to medium brown, without any black char on the edges. If your beans look “quaker” or pale despite a long roast time, the heat failed to reach the center of the dense bean. This unevenness happens when the airflow is too low to distribute heat evenly. To prevent this, ensure your beans are free of debris before starting and stir them if your roaster doesn’t have an automatic agitation system.
Rules and Proper Maintenance
Coffee safety primarily involves keeping your equipment free of chaff, which can ignite if allowed to build up in the heating element.
Alternative Roasting Methods
Pan Roasting
Using a heavy-bottomed pan allows for high control but requires constant manual stirring. This method is cheaper but often leads to inconsistent results because the beans touch the hot metal directly.
Drum Roasting
A rotating drum keeps beans in motion, which creates a very even roast. This is the professional standard, but the equipment is significantly more expensive and requires more physical space to operate.
Fluid Bed Roasting
This method uses hot air to lift the beans, ensuring they don’t touch the heat source directly. It’s the fastest way to roast, though it can sometimes miss the body development of longer roasts.
Frequently asked questions
Photo: www.oval.nyc on Google
How long should I let coffee rest after roasting?
You should let the coffee rest for at least 24 to 48 hours to allow carbon dioxide to escape. This improves the clarity of the flavor profile, which is often muted if you brew the beans immediately.
Can I roast coffee in a regular oven?
No, roasting in an oven isn’t recommended because it lacks the necessary airflow to remove chaff and ensure an even temperature. You’ll likely end up with baked, dull-tasting beans that lack character.
What is the first crack in coffee roasting?
The first crack is an audible sound similar to popcorn, occurring when the water vapor and gases inside the bean expand and break the cell structure, marking the beginning of the light roast stage.
Is it safe to roast coffee indoors?
Yes, it’s safe if you have a powerful range hood or place the roaster near an open window. The process creates significant smoke, so proper ventilation is required to keep the air clear.
How do I know if the beans are burnt?
The beans are burnt if they appear oily, black, or smell like charcoal rather than toasted nuts. If they reach this stage, the delicate fruit notes of the natural process are completely destroyed.
What happens if I under-roast the beans?
Under-roasted beans taste sour, grassy, and vegetal because the internal sugars haven’t caramelized. If you find this taste, extend your roast time by 60 seconds in your next session.
Roast natural, in short
Roasting natural processed coffee at home allows you to experience the full spectrum of fruity sweetness that these unique beans offer. Keep your equipment clean, monitor the first crack closely, and you’ll achieve a professional-grade cup without leaving your kitchen.
Related guides