
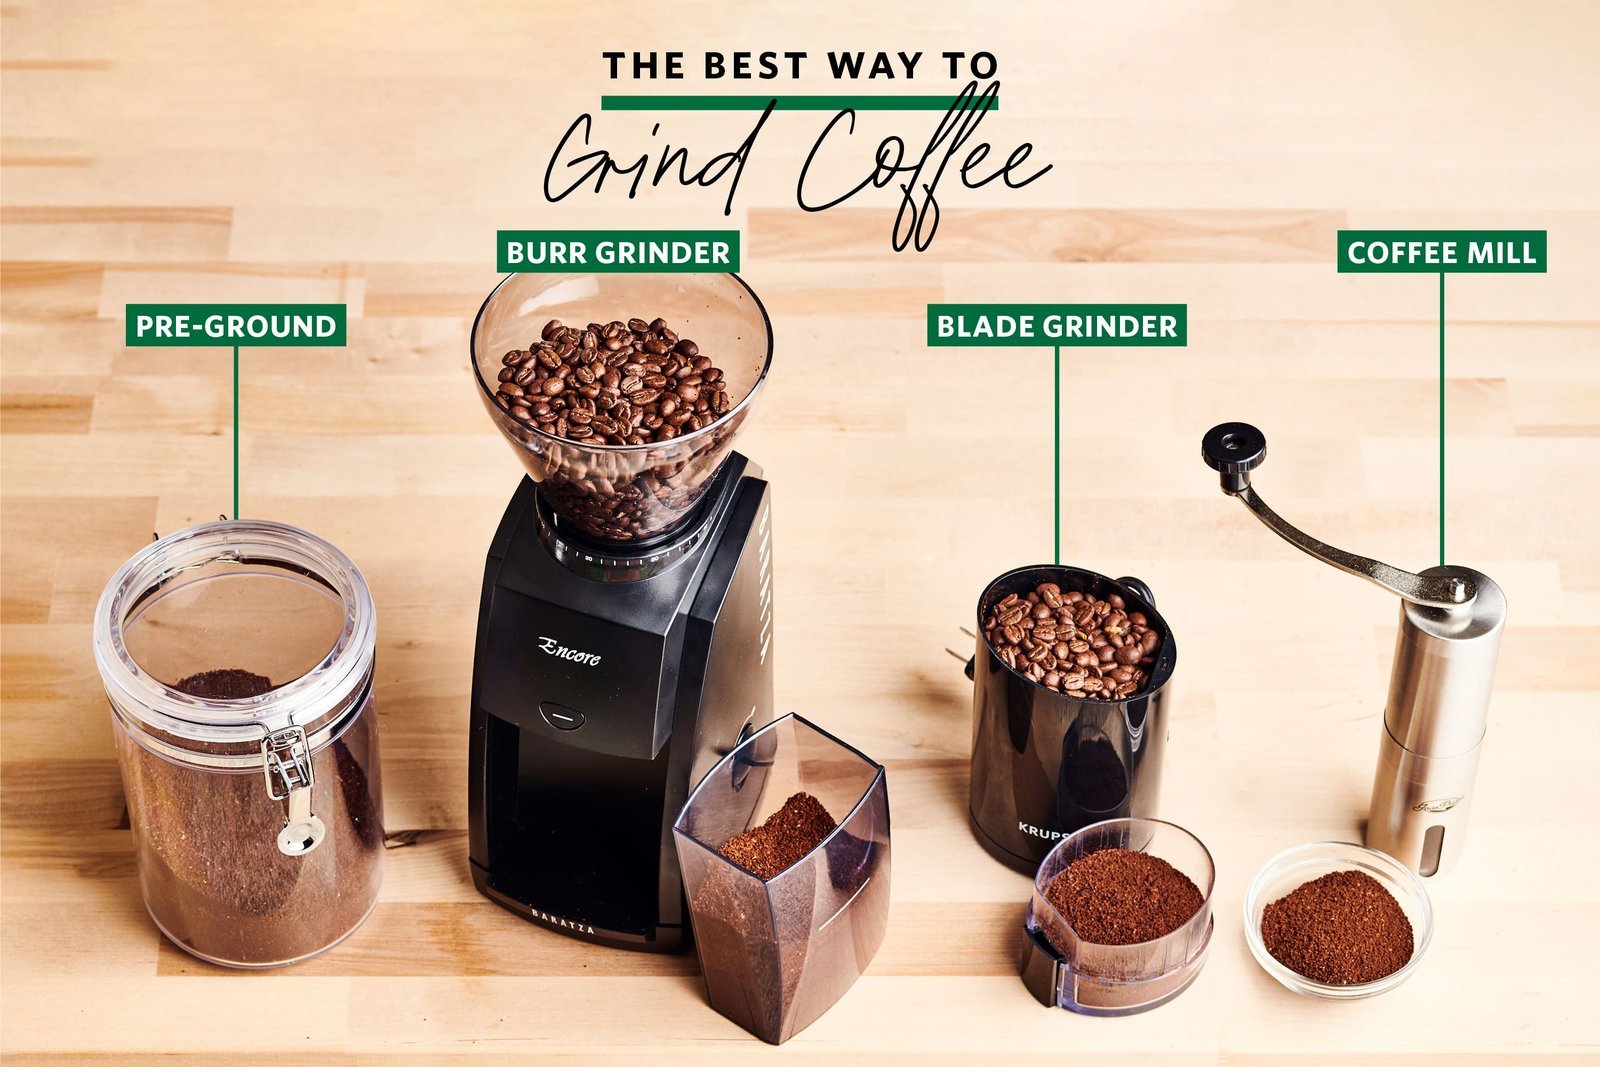
To turn coffee beans into coffee grounds, use a burr grinder to crush the beans into consistent particles. This process takes about two minutes for a standard batch, costs nothing beyond your initial equipment investment, and is considered easy for any home coffee enthusiast. You must have a clean, dry grinder before starting to ensure the best flavor.
Equipment for grinding coffee
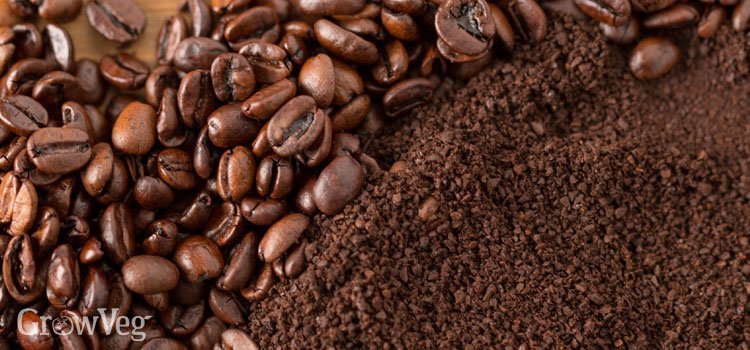
| Item | How much | Why it’s needed | A substitute |
|---|---|---|---|
| Burr Grinder | 1 unit | Provides uniform particle size | Blade grinder (less consistent) |
| Whole Beans | 20 grams | Freshness for one cup | None — don’t swap this |
| Digital Scale | 1 unit | Ensures precise brew ratios | Measuring scoop (less accurate) |
| Storage Jar | 1 container | Keeps grounds air-tight | Sealed plastic bag |
| Cleaning Brush | 1 tool | Removes leftover oil | Soft dry cloth |
Getting your grinder ready
- Switch off and unplug the grinder before you attempt to clean or adjust the internal burrs.
- Empty the hopper of any old beans to prevent mixing stale flavors with your fresh batch.
- Wipe the exterior with a damp cloth, but never submerge the motor base in water.
- Check the manual for your specific model to identify the adjustment dial, as this varies by model — check the label on the base for power requirements.
- If you lack experience with electrical appliances, consult the manufacturer’s user manual before making any adjustments to the burr housing.
Steps for grinding beans
- Place your digital scale under the grinder chute and tare it to zero so you only measure the weight of the coffee grounds.
- Set your burr grinder to the desired coarseness setting, which usually ranges from fine for espresso to coarse for a French press.
- Pour 20 grams of whole coffee beans into the hopper, ensuring the lid is securely closed to prevent any beans from jumping out.
- Turn on the grinder and allow it to run until all beans have passed through the burrs, which typically takes 15 to 30 seconds.
- Listen for the change in sound from a loud crushing noise to a high-pitched whirring, which indicates the hopper is empty of beans.
- Wait five seconds for the static to settle before you pull the container away to prevent fine dust from flying into the air.
- Check the texture of the grounds by rubbing a small amount between your thumb and forefinger to ensure it matches your intended brew method.
- Transfer the grounds immediately into your brewing device or an airtight container to minimize oxidation, as FoodSafety.gov’s cold storage charts note that proper storage is essential for maintaining quality.
Signs of perfect grounds
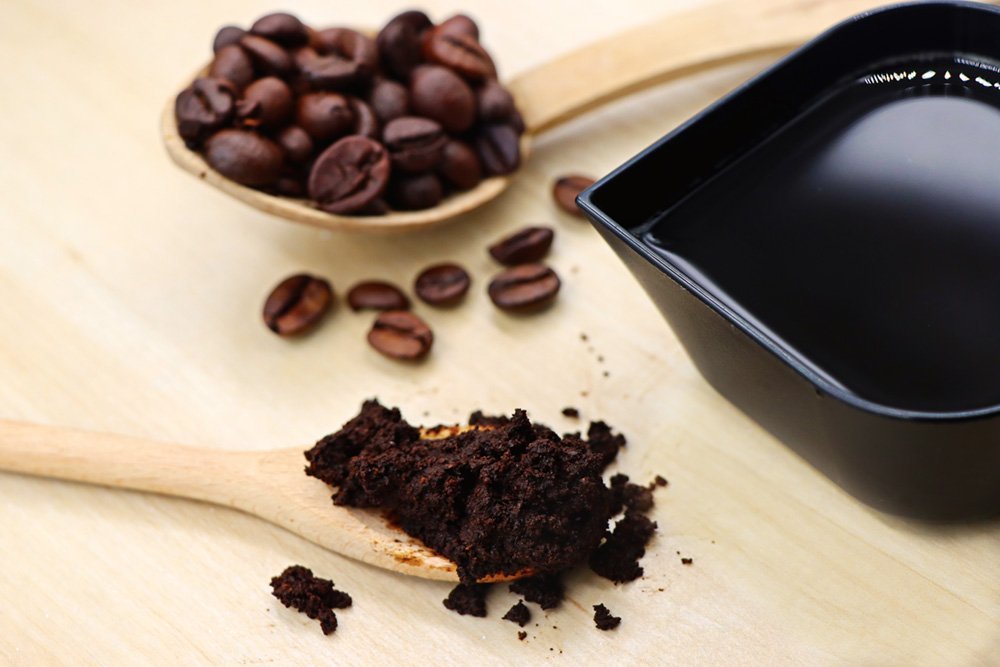
Success is visible when the particles appear uniform in size and color throughout the entire batch. If you see large chunks mixed with fine powder, your burr alignment may be off or the beans weren’t fed evenly. A second round of grinding is only necessary if the current setting is too coarse for your specific brewing device. If the grounds feel damp or clump together, you must dry your equipment thoroughly before the next use to prevent mold growth.
Troubleshooting common issues
| What happened | Why | What to do |
|---|---|---|
| Motor stalls | Beans are too hard | Use a lighter roast |
| Inconsistent size | Worn burrs | Replace the burrs |
| Static buildup | Low humidity | Use a metal container |
| Clogged chute | Oily dark roast | Clean with a brush |
| Loud grinding | Debris in burrs | Remove and clean |
Frequency of grinding
You should grind your coffee immediately before brewing to maximize the aromatic compounds and flavor profile. If you grind for the whole week at once, the coffee loses its peak quality within 30 minutes due to rapid oxidation. If you travel, you might grind a day’s supply, but store it in a vacuum-sealed bag to slow down the loss of freshness. Daily grinding remains the gold standard for quality.
Frequently asked questions
Can I use a blender to grind beans?
Yes, but you’ll get very uneven results because blenders chop rather than crush. Use a pulse setting for five seconds at a time to prevent the motor from overheating the coffee beans.
Why do my grounds taste bitter?
Bitter coffee usually happens because the grind size is too fine for your brewing method. Try adjusting your grinder to a slightly coarser setting to improve the extraction balance of the coffee.
How long do ground beans stay fresh?
Ground beans lose most of their volatile aromatics within thirty minutes of exposure to air. Store any unused grounds in an opaque, airtight container in a cool place to preserve the remaining flavor profile.
Is it safe to grind oily beans?
Yes, but oily beans can clog the grinder chute and leave residue on the burrs. Clean your grinder more often if you prefer dark, oily roasts to prevent old oil from turning rancid.
Does the grind size change the caffeine?
No, the total caffeine content remains the same regardless of grind size. The grind size only changes how quickly the water extracts the flavor and caffeine during the actual brewing process.
What happens if I grind too fine?
Grinding too fine causes the water to pass through the coffee too slowly, leading to over-extraction. This results in a harsh, bitter taste that masks the natural notes of the bean.
Turn coffee, in short
The quality of your final cup depends heavily on the consistency of the particles produced by your grinder. While a blade grinder is cheaper and easier to find, a burr grinder is the only way to ensure uniform extraction every time you brew. Always clean your equipment after each session to keep the flavor profile clean and free from old, stale oils.