
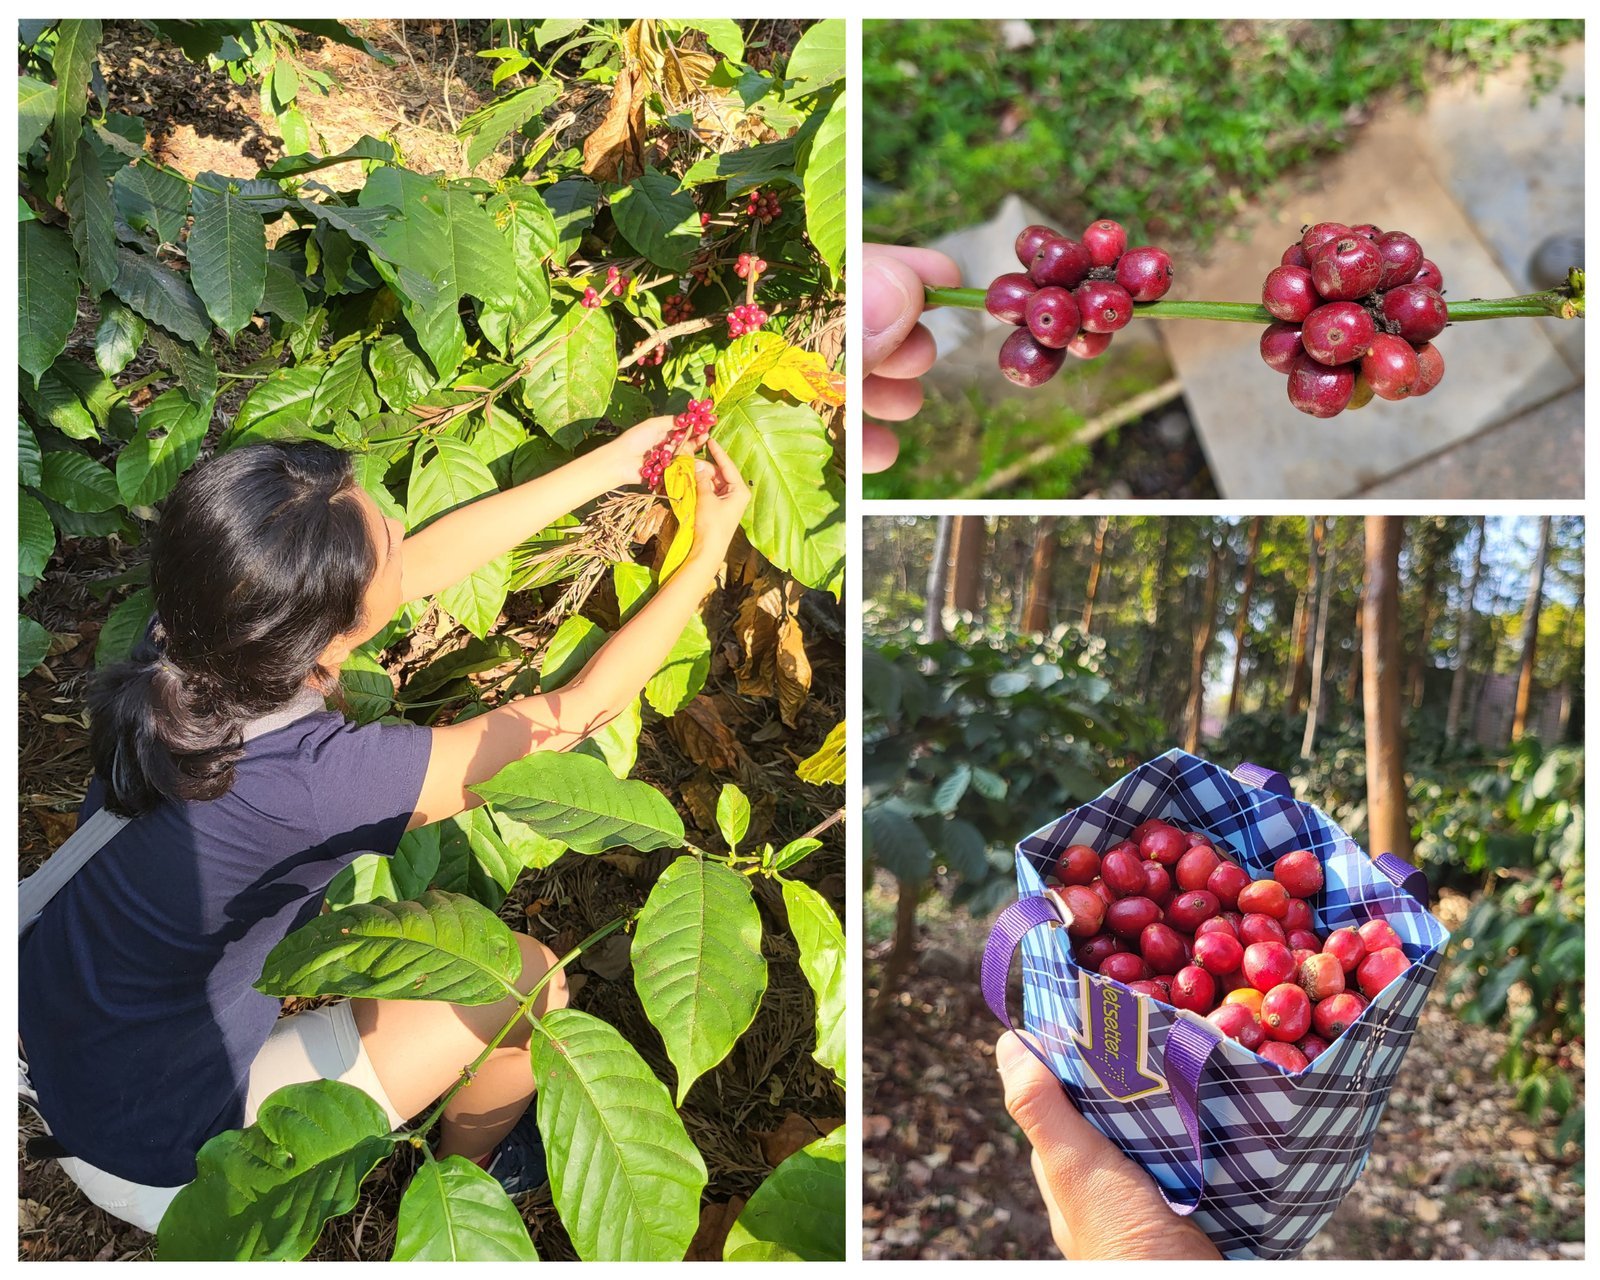
Roasting green coffee beans in a pan and brewing them with hot water allows you to make coffee from scratch in about 30 minutes.
Gear to make coffee from scratch
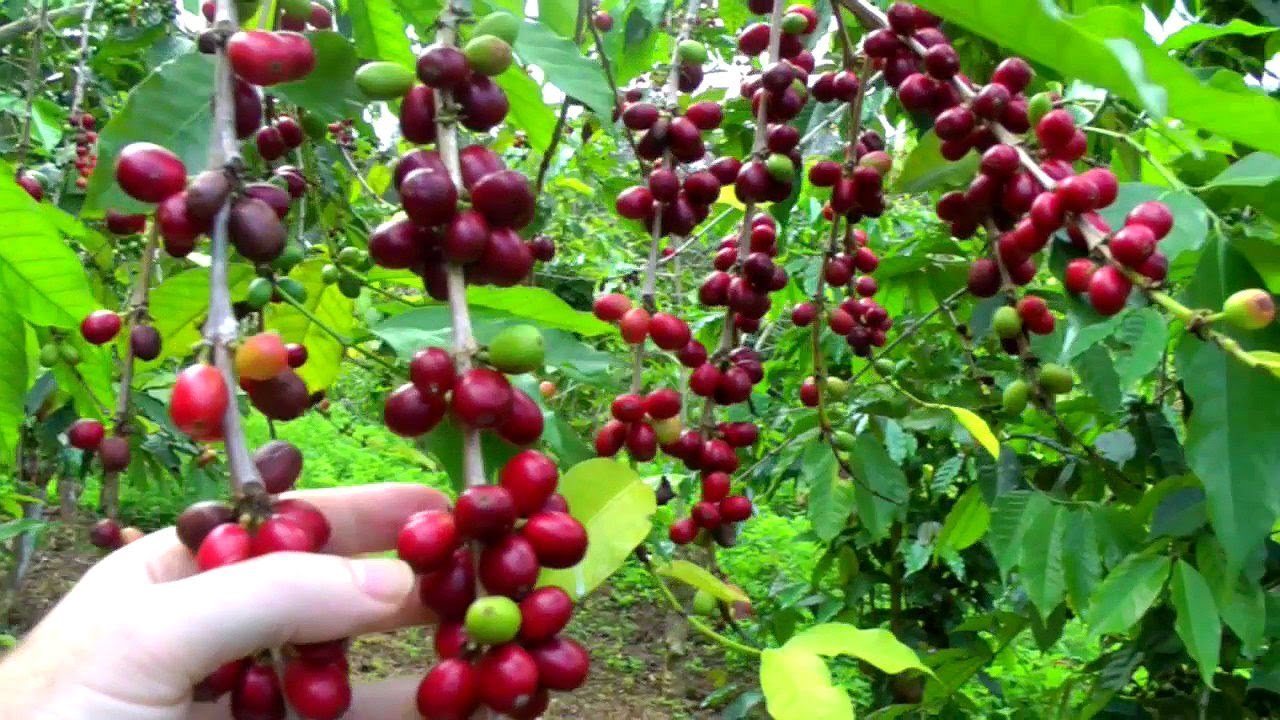
You need a few specific items to turn raw seeds into a finished drink. Having the right tools ensures you don’t burn your beans or end up with a weak, watery cup.
- Green coffee beans: Buy these from a dedicated roaster or online supplier; don’t use seeds sold for planting, as they may contain chemicals.
- Heavy cast-iron skillet: This holds heat well, which is vital for even roasting.
- Wooden spoon: Use this to keep the beans moving constantly.
- Burr grinder: This gives a uniform grind size, which is necessary for consistent extraction.
- Fine-mesh strainer: Use this to remove the “chaff” (the papery skin) from the beans after roasting.
If you lack a burr grinder, a blade grinder works, but it often creates uneven pieces that make the coffee taste bitter or sour. Never use a pan with a thin bottom, as it will scorch the beans before they’re fully roasted.
Brewing your roasted beans
Follow these steps to transform green beans into a fresh cup of coffee.
- Place 1/2 cup of green coffee beans into your preheated cast-iron skillet over medium-high heat.
- Stir the beans continuously with your wooden spoon to ensure they roast evenly without burning.
- Listen for the “first crack,” a popping sound similar to popcorn, which occurs after about 7 to 10 minutes depending on your stove’s output.
- Remove the skillet from the heat once the beans reach your desired color; light brown is mild, while dark brown is bold.
- Pour the beans into the fine-mesh strainer and shake them outside to blow away the papery chaff.
- Cool the beans completely before grinding, as grinding hot beans can affect the extraction process.
- Grind 2 tablespoons of roasted beans for every 6 ounces of water.
- Pour 200°F water over the grounds and let them steep for 4 minutes before straining.
Careful: Always roast in a well-ventilated area because the process creates significant smoke. Tip: If the beans look oily on the surface, you have roasted them past the “second crack,” which results in a very dark, smoky flavor.
Adjusting for beans and volume
The time and effort you spend change based on the amount of coffee you want to produce at once.
| Situation | Time Required | Difference | What to watch |
|---|---|---|---|
| Single cup | 20 minutes | Faster cooling | Roast color |
| Batch roast | 45 minutes | Heavy stirring | Smoke levels |
| Light roast | 8 minutes | Higher acidity | First crack |
| Dark roast | 14 minutes | Higher bitterness | Second crack |
Start by roasting a small amount to get a feel for your specific stove. It’s much easier to add more roasting time than it’s to fix a batch of burnt, charcoal-flavored beans.
Judging your results
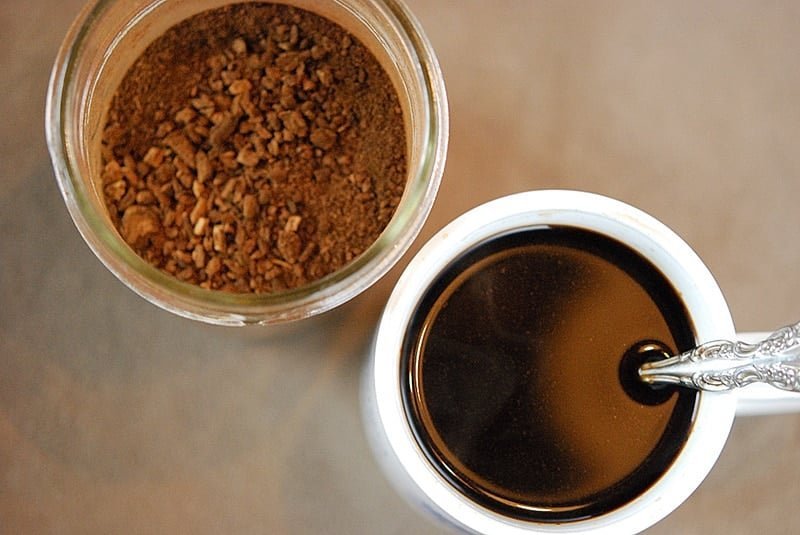
A good cup of coffee from scratch should taste vibrant and fresh, with no burnt or ashy aftertaste. A poor result often tastes flat or sour because the beans were under-roasted or the grind size was inconsistent. If your coffee tastes consistently bitter, you likely ground the beans too finely or roasted them too dark. To prevent this, focus on keeping your stir rhythm steady during the roast and use a consistent grind setting. If you’re unsure about the grind, start with a medium-coarse texture, which looks like sea salt.
Safety and storage standards
The main rule for green coffee is to keep it dry and cool, as moisture encourages mold growth. Once roasted, store your coffee in an airtight container away from direct sunlight to keep the oils from going rancid. The peak flavor lasts for about 7 days after roasting. If you’re concerned about food-borne illness or storage, contact your local health department, as they handle the specific regulations for safe food processing and storage in your region.
Alternative roasting methods
Using a popcorn popper
An air-pop popcorn machine provides constant airflow, which roasts beans more evenly than a pan. This method is faster but requires you to watch the color closely to avoid an accidental fire.
Using a home roaster
Dedicated electric roasters automate the heat and airflow. This reduces the risk of burning and ensures a consistent roast every time, though these machines are a significant investment for a beginner.
Using an oven
You can spread beans on a baking sheet at 450°F. This is the least precise method and often results in uneven roasting because the beans don’t get the constant movement needed for uniformity.
Frequently asked questions

How long do green coffee beans last?
Green coffee beans remain fresh for up to 12 months if stored in a cool, dry, and dark place. Keep them in a sealed bag to prevent them from absorbing moisture or odors from your kitchen environment.
Can I drink coffee immediately after roasting?
No, you should wait at least 12 to 24 hours after roasting. Freshly roasted beans contain high levels of carbon dioxide, which can interfere with the extraction process and make the coffee taste sharp or metallic.
Is it safe to roast coffee in a small apartment?
It’s safe if you have excellent ventilation, such as a strong range hood or an open window with a fan. The roasting process produces significant smoke and fine chaff that can easily set off a sensitive smoke detector.
What happens if I burn the beans?
Burnt beans will taste like charcoal or ash, and no amount of brewing will fix the flavor. If the beans turn black or start smoking heavily, discard them, as they contain no usable coffee flavor and will ruin the brew.
How much coffee does a cup of green beans make?
One cup of green beans yields about 3/4 cup of roasted coffee. Because the beans lose water weight during roasting, you’ll always have less volume after the process than when you started.
Why do the beans crack during roasting?
The beans crack because the heat causes internal water to turn into steam, which builds pressure and breaks the cell walls. The first crack is a sign of a light-to-medium roast, while the second indicates a dark roast.
Conclusion
Savoring that first sip of your own roast is a rewarding experience you won’t soon forget. Since every batch tastes a bit different, keep a small notebook nearby to track your heat settings and timing. You’ll find that experimenting with these subtle adjustments is the best way to improve your brew.