
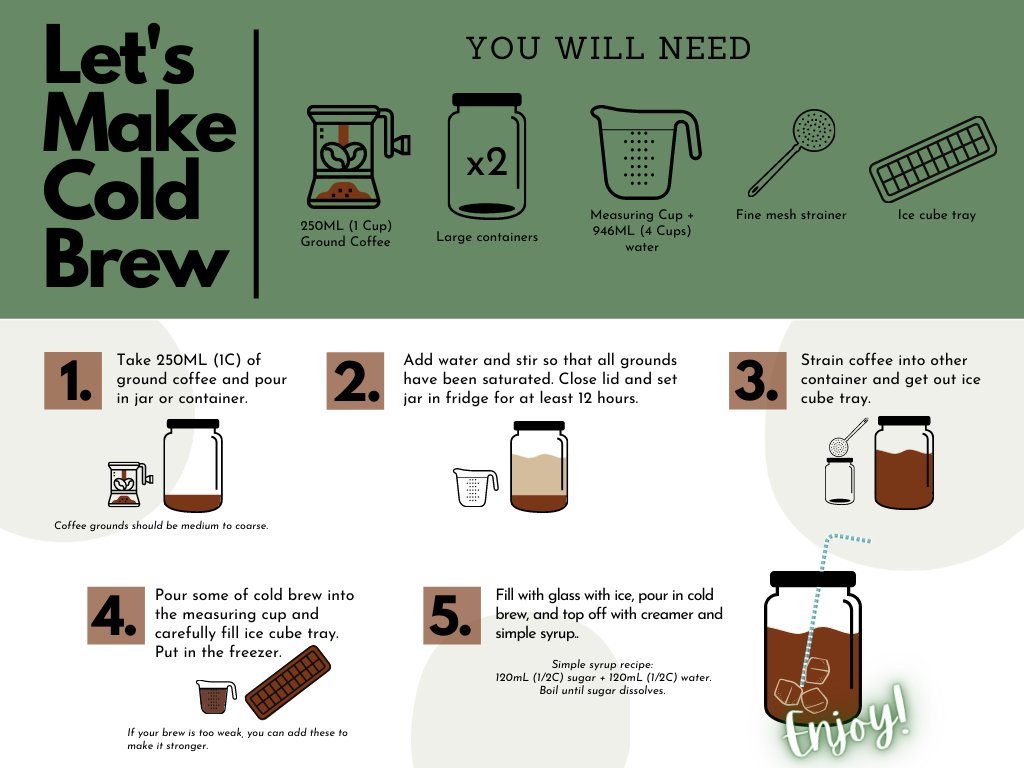
To get a balanced cup, making brew coffee requires about 5 minutes of active time and a simple setup of a dripper, filter, and fresh grounds. This process is medium-difficulty because it depends on your technique, but you only need to master the ratio of water to beans to see great results every morning.
Equipment to make your coffee brew
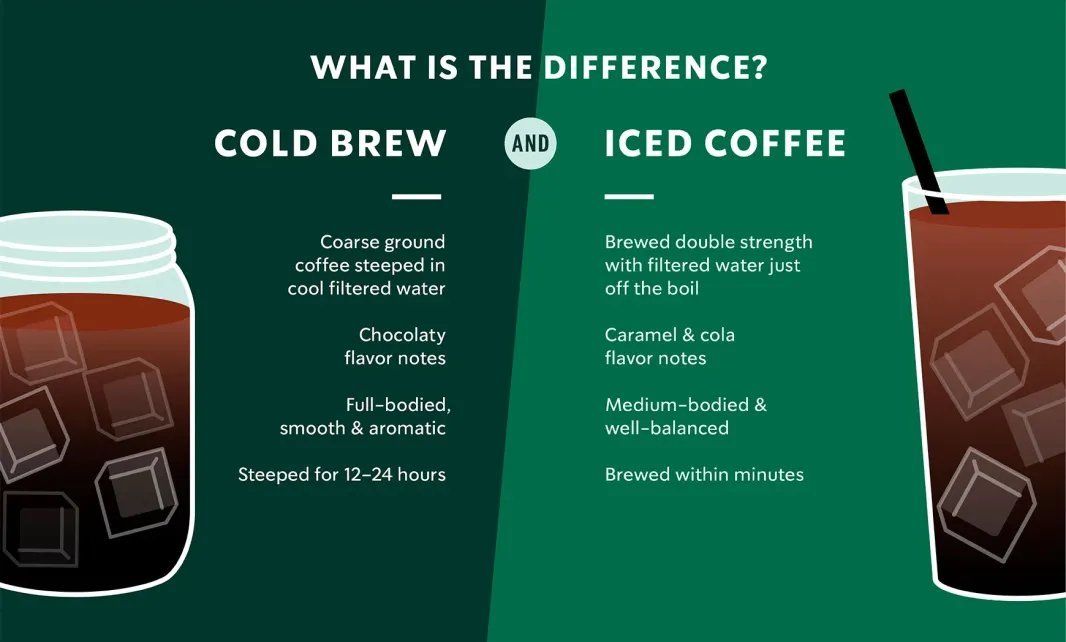
You must have the right tools to ensure the water flows through the grounds at an even pace. If you’re missing a scale, you can use a measuring spoon, but note that a digital scale is the only way to repeat your success.
| Item | How much | Why it’s needed | A substitute |
|---|---|---|---|
| Coffee beans | 20 grams | Provides the base flavor | Pre-ground coffee |
| Hot water | 300 milliliters | Extracts the coffee oils | none — don’t swap this |
| Paper filter | 1 piece | Removes fine sediment | Metal mesh filter |
| Digital scale | 1 unit | Ensures accurate ratios | Measuring spoons |
| Kettle | 1 unit | Heats water to 200°F | Stovetop pot |
| Dripper | 1 unit | Holds the filter | Automatic machine |
Before you start your brew
- Empty your mug and rinse the dripper with hot water to warm the ceramic or glass.
- Check that your kettle is clean and filled with fresh, cold water before heating.
- Place your filter inside the dripper and discard the paper-tasting water used for rinsing.
- If you’re using a burr grinder, set it to a medium-coarse grind to avoid bitter flavors.
Note that using water above 212°F can scorch the grounds; for the best result, keep your water between 195°F and 205°F as recommended by the National Coffee Association. If you don’t have a thermometer, let the boiling water sit for 60 seconds before pouring.
Steps for the perfect pour
- Place your empty dripper and mug on the scale and press the tare button to ensure it reads zero before you start adding your ingredients.
- Add exactly 20 grams of medium-coarse ground coffee into the filter, shaking the dripper gently to make sure the grounds form a flat, level bed.
- Pour 40 milliliters of hot water over the grounds to start the “bloom,” which releases trapped gases from the coffee beans, then wait 30 seconds.
- Pour the remaining 260 milliliters of water in a slow, steady circular motion, starting from the center and moving outward to ensure even saturation.
- Keep the stream of water consistent; if the water level rises too high, stop pouring for 10 seconds to allow the coffee to drain downward.
- Watch the filter as the water level drops; the entire extraction process should take about 3 minutes total for a standard 300-milliliter brew.
- Remove the dripper from the mug once the drip slows to a stop, which indicates you have extracted the sugars and oils from the beans.
- Stir the coffee in your mug with a spoon to mix the layers before drinking, as the strongest coffee sits at the bottom of the cup.
Signs your brew is ready
Photo: www.youtube.com on Google
You know the process worked when the coffee bed in the filter looks flat and dry rather than muddy or uneven. If the coffee tastes sour, the water flowed too fast, meaning you should grind your beans finer next time. If the taste is bitter or harsh, the water took too long to drain, which means your grind was too fine. The ideal cup should have a clean finish and a balanced body that matches your specific bean roast.
Common issues and fixes
| What happened | Why | What to do |
|---|---|---|
| Coffee is weak | Too much water | Use less water |
| Bitter taste | Over-extraction | Use coarser grind |
| Sour taste | Under-extraction | Use finer grind |
| Slow drain | Clogged filter | Use coarser grind |
| Cold coffee | Cold equipment | Preheat your mug |
How often to clean your gear
You should rinse your dripper after every single use to prevent old oil buildup from ruining your next cup. The frequency of deep cleaning depends on your water hardness and how often you brew; if you see white mineral deposits, soak your equipment in a vinegar solution for 15 minutes. Always check your manufacturer’s manual, as some materials might crack if you use harsh chemicals or abrasive brushes.
Frequently asked questions
Can I use tap water for coffee?
You can use tap water if it tastes good to you, as coffee is 98% water. If your tap water has a strong chlorine smell, use a charcoal filter pitcher to improve the final flavor profile.
How long does ground coffee stay fresh?
Ground coffee begins to lose its peak aromatic intensity shortly after grinding, so for the best flavor, grind your beans immediately before you start your brew. For the best flavor, grind your beans immediately before you start your brew each morning.
Is it safe to reheat brewed coffee?
It’s safe to reheat coffee, but it often tastes bitter because the remaining acids break down further when heated again. It’s better to brew only the amount you intend to drink.
What happens if I use boiling water?
Using boiling water at 212°F can extract unwanted bitter compounds that ruin the natural sweetness of the beans. Always let your kettle sit for one minute to reach the ideal 200°F range.
Does the type of filter matter?
The filter type changes the body of your drink, as paper filters trap more oils and fine sediment. A paper filter creates a cleaner, lighter cup, while a metal mesh allows oils through.
How much coffee should I use per cup?
You should use 20 grams of coffee for every 300 milliliters of water. If you prefer a stronger flavor, adjust your ratio to 22 grams, or use 18 grams for a lighter, milder cup.
Conclusion
The quality of your final cup depends mostly on the freshness of your beans and the accuracy of your measurements. Stick to the ratio of 20 grams per 300 milliliters to keep your results consistent, and adjust only one variable—like grind size or water temperature—at a time to find the profile you like best.